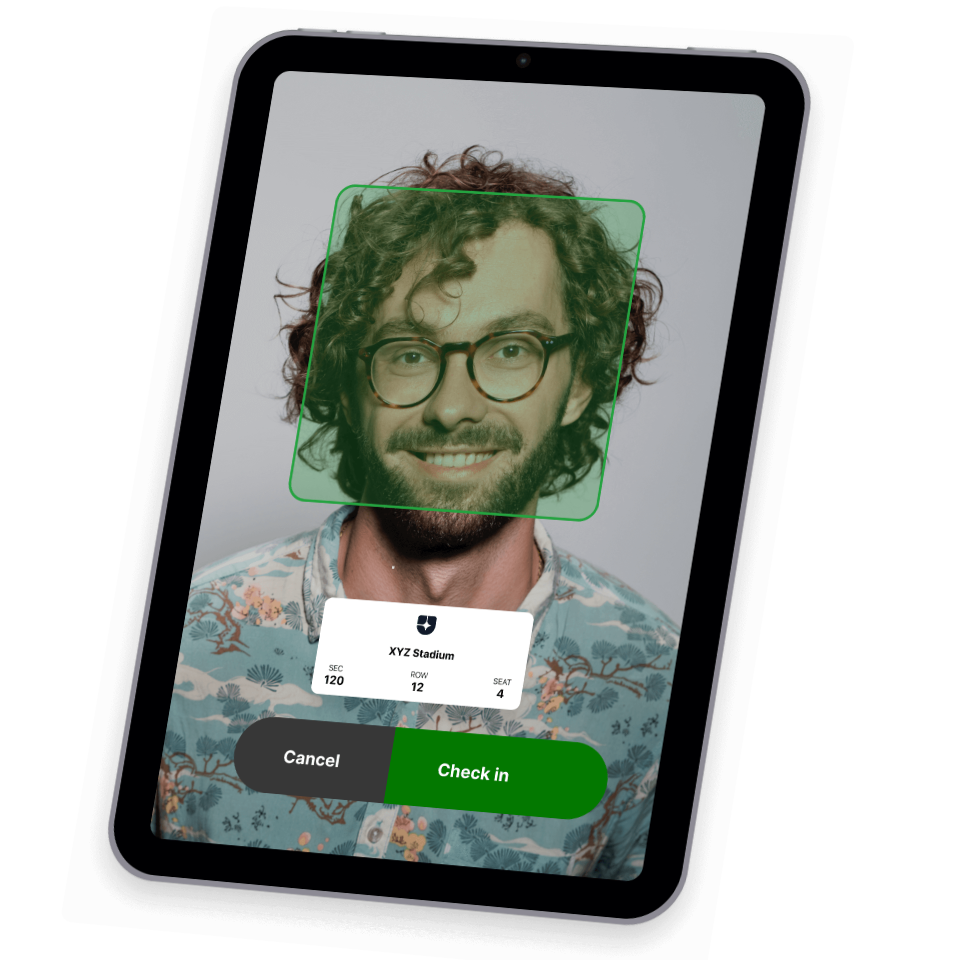
Best case check-in practice
Case study: OffDig
Short summary: The check-in flow at Danish IT’s OffDig event was super-efficient and there was no queueing at all. A total of 1,584 name badge labels were printed, with a maximum of 37 printed name tags in one minute. The guests were very happy with the new check-in flow that felt both modern and efficient.
Previous setups
Before using Ticketbutler, Danish IT used to manually print out the approx. 1,600 name badges in advance, and subsequently lay them out on long tables and then sort them alphabetically. This had quite a few disadvantages:
- ● Tedious and frustrating preparations with creating and printing the name badge files.
- ● Time-consuming to lay out and sort the name badges alphabetically.
- ● Traffic jams by the name badges with the most popular beginning letters.
- ● The hassle of generating new name badges on-site for late-comers and for attendees who had amendments to already printed badges.
Dansk IT therefore wanted to streamline the check-in flow and reduce the administration work for the organizer team.
When the guests turned up at the registration entrance, they were checked in and handed a name badge and a programme before entering the venue, which had been transformed into a colorful and futuristic tech universe.
So, how was it that there was no queuing? Well, everything was planned out and tested well before the event.
What was the case/expectation?
The organizers behind the OffDig event expected 1,600 attendees in total, and out of these approx. 1,300 arriving between 08:30 and 09:00 a.m.. The guests had registered for the event in advance, but as is always the case, badge amendments (to e.g. names and titles) and late comers were expected.
What was the preparation/setup?
The organizer used external ticketing software, so all attendee data was imported into the Ticketbutler ticketing system.
The data included:
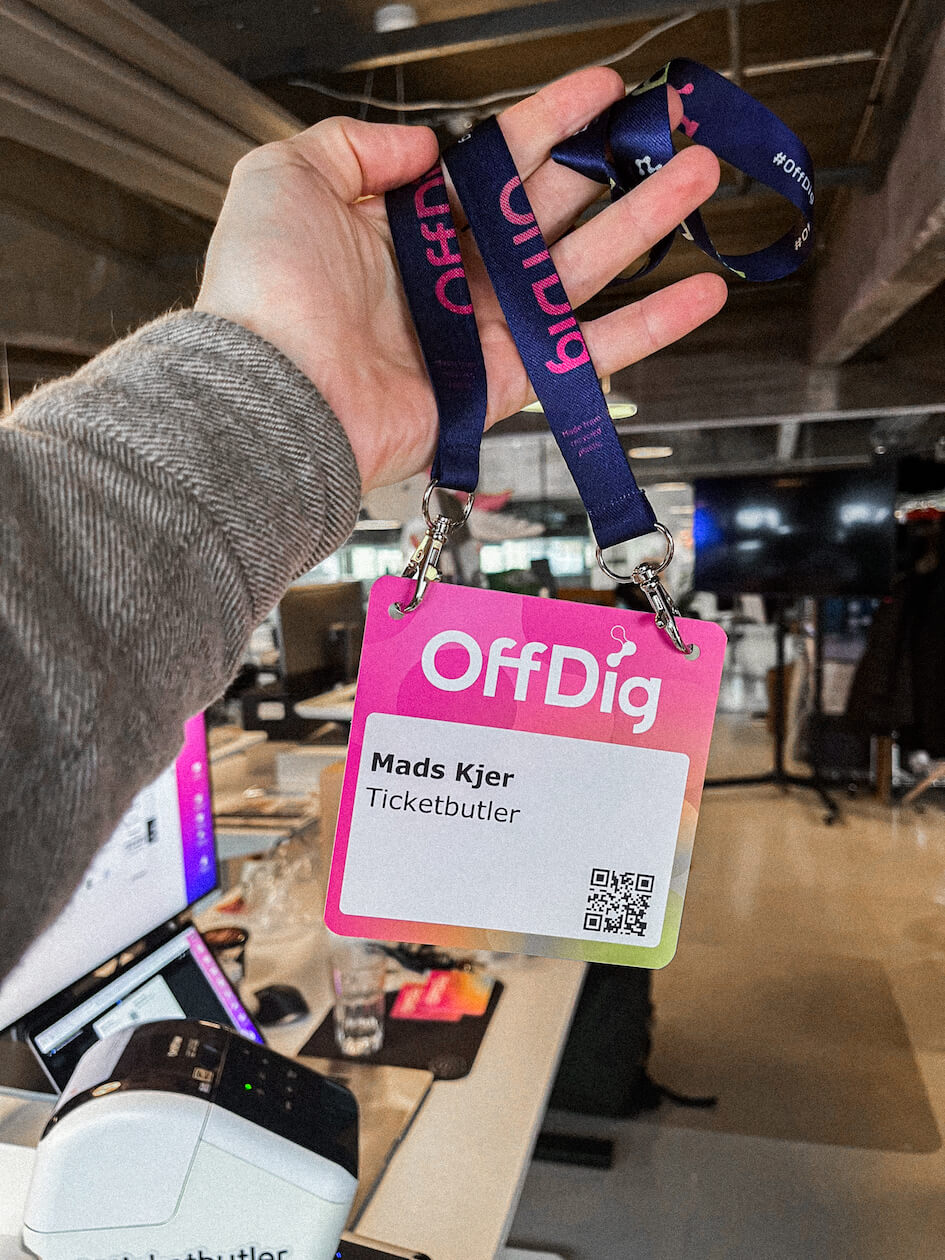
- ● Full name
- ● Company name
- ● The check-in QR code
- ● The lead retrieval QR code for scanning contact information.
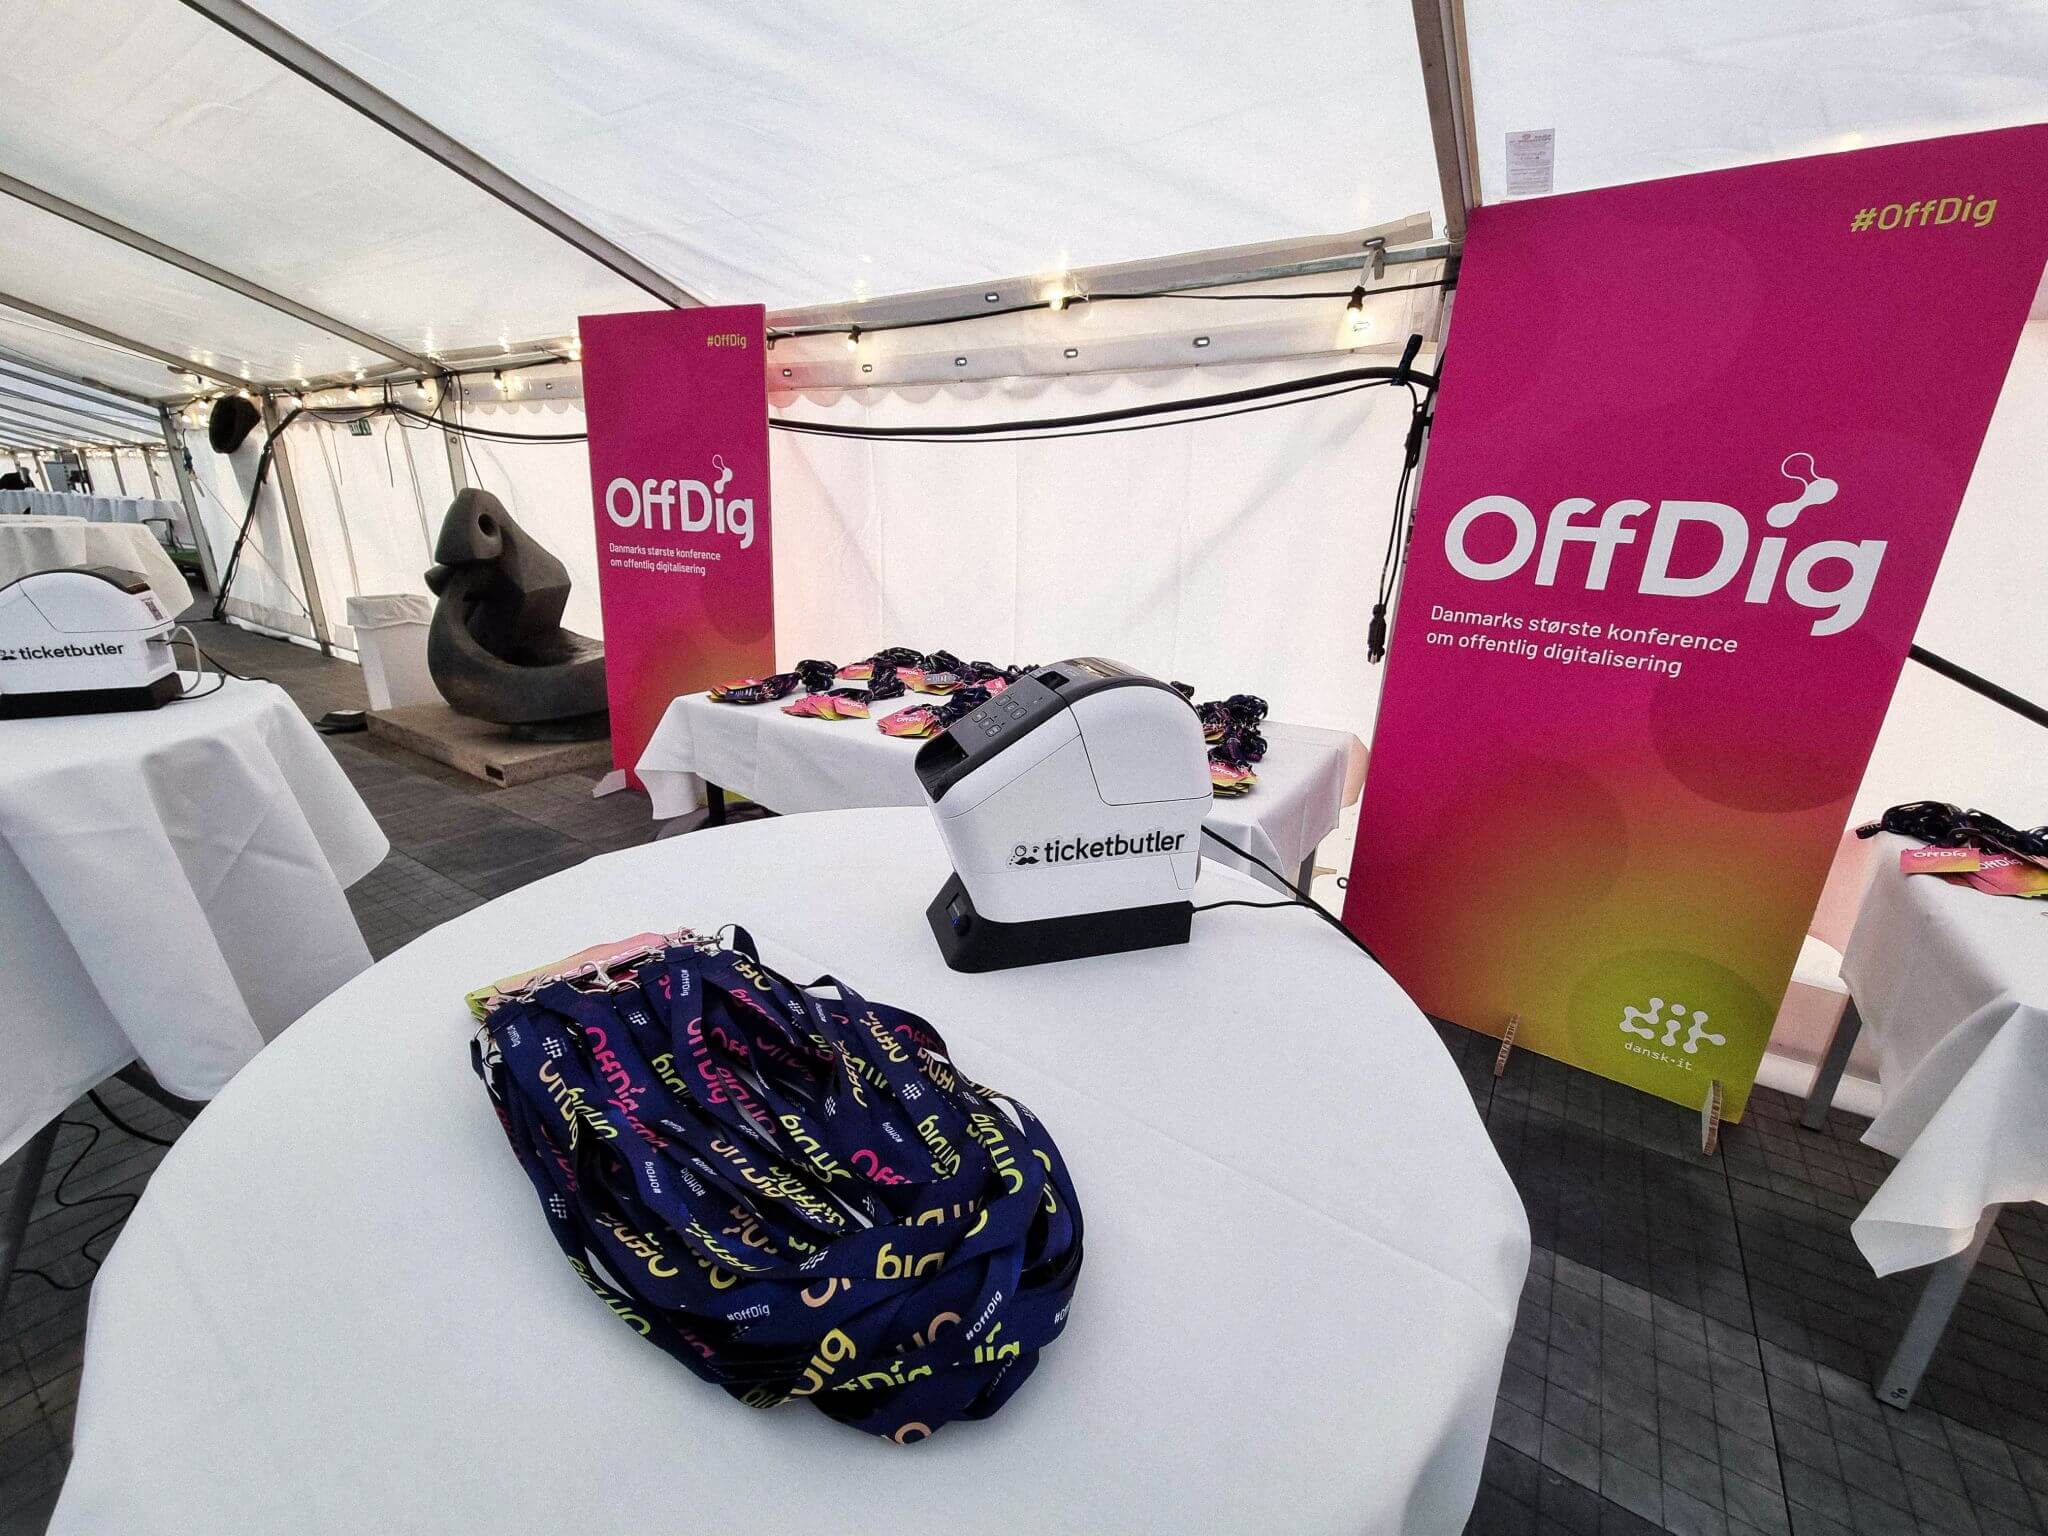
The check-in area had the following setup:
- ● 10 high tables with white tablecloths
- ● 10 bins
- ● 4 tables with assembled sets of lanyards and name badges
- ● One entrance.
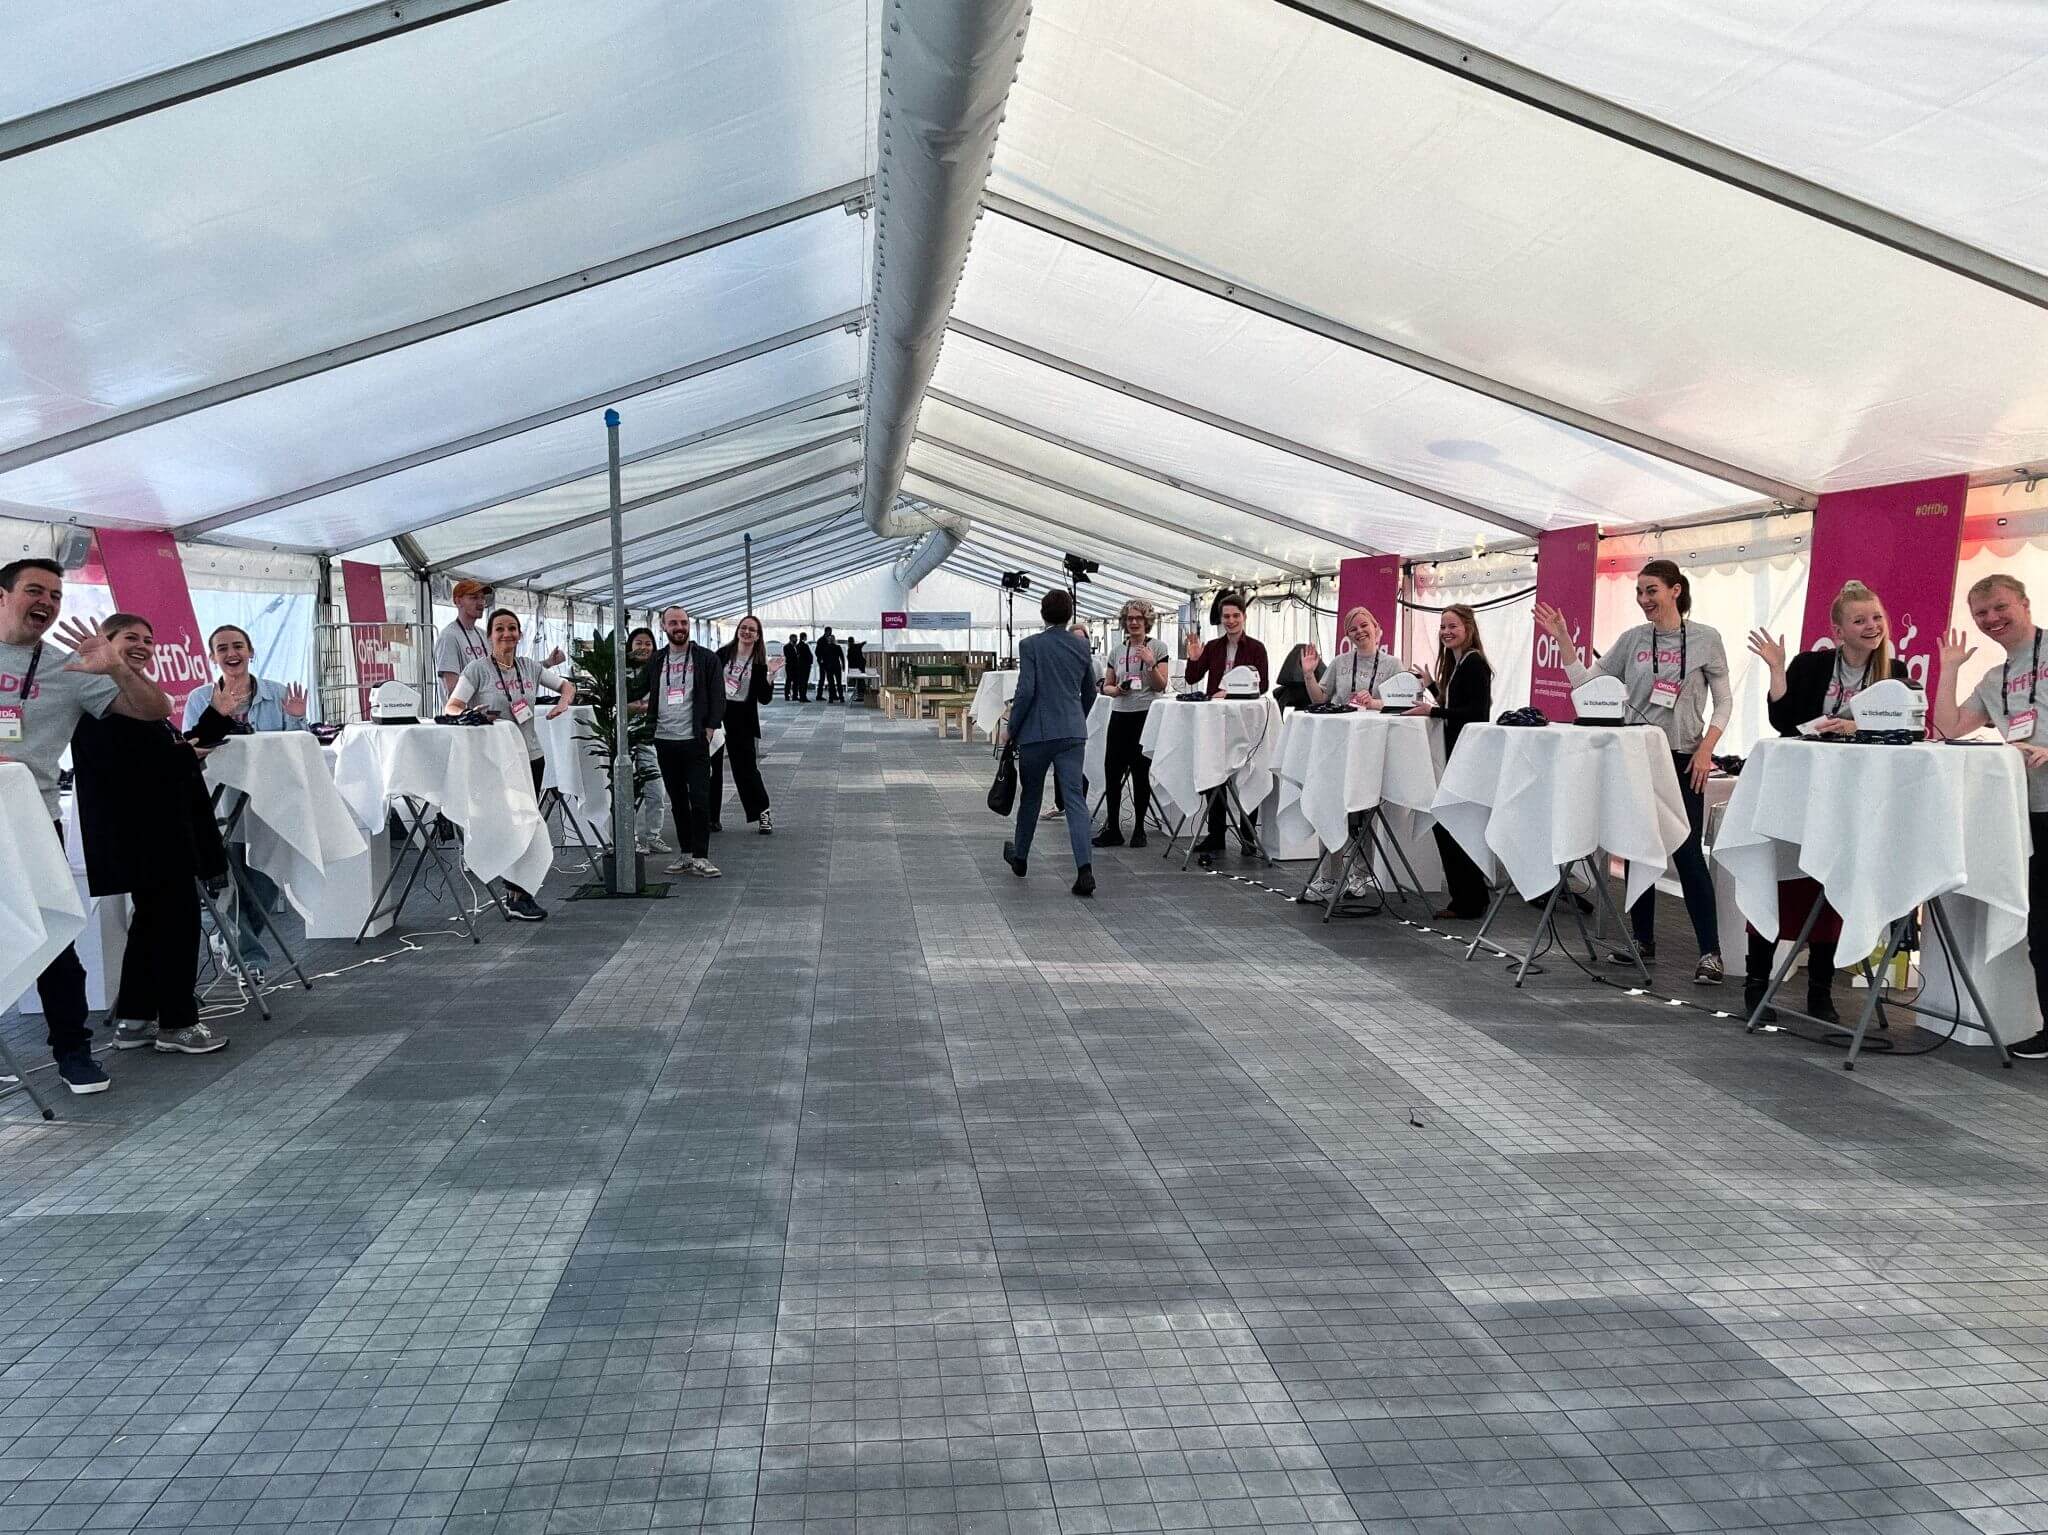
The guests entered from the center of the check-in tent with high tables located on each side of the tent. The high tables were placed at an angle in a funnel form so that incoming guests could see all the tables from the entrance and quickly spot an available registration table.
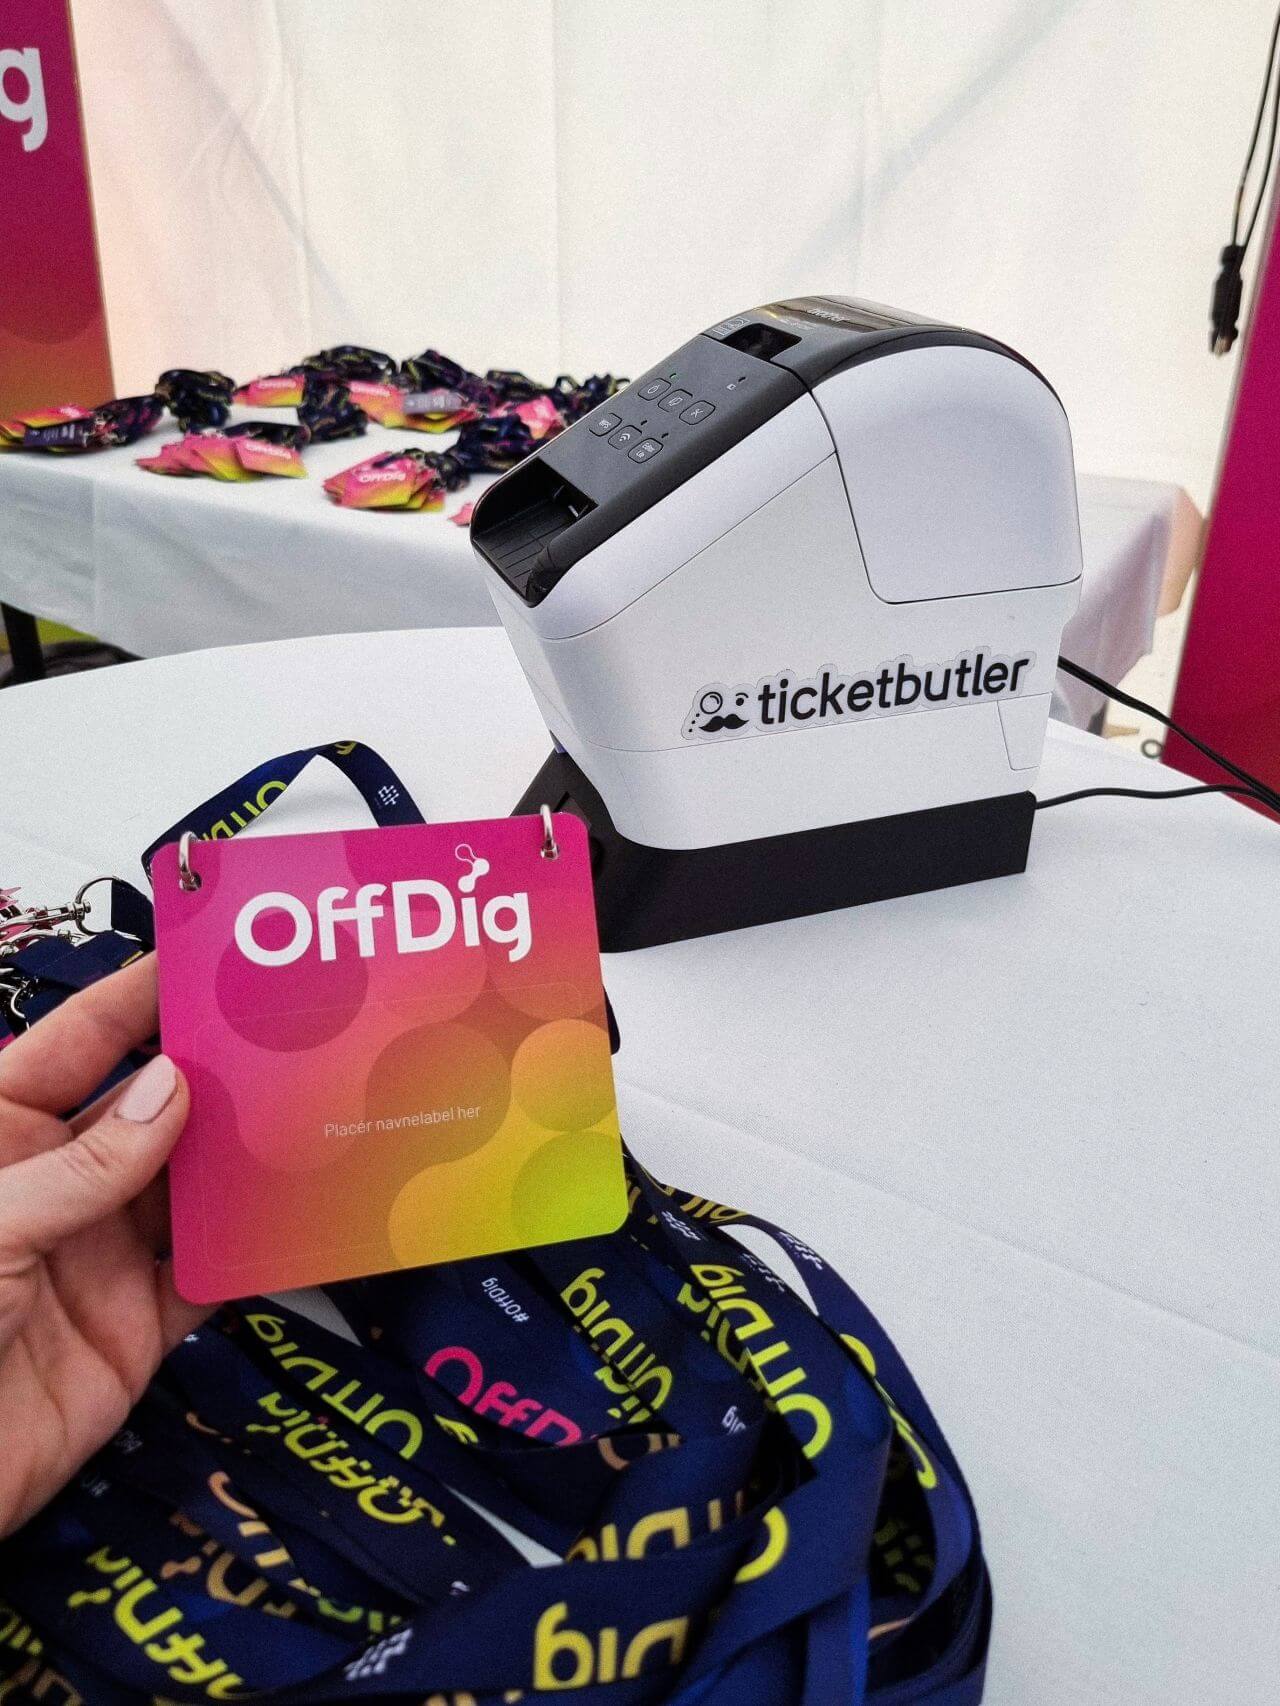
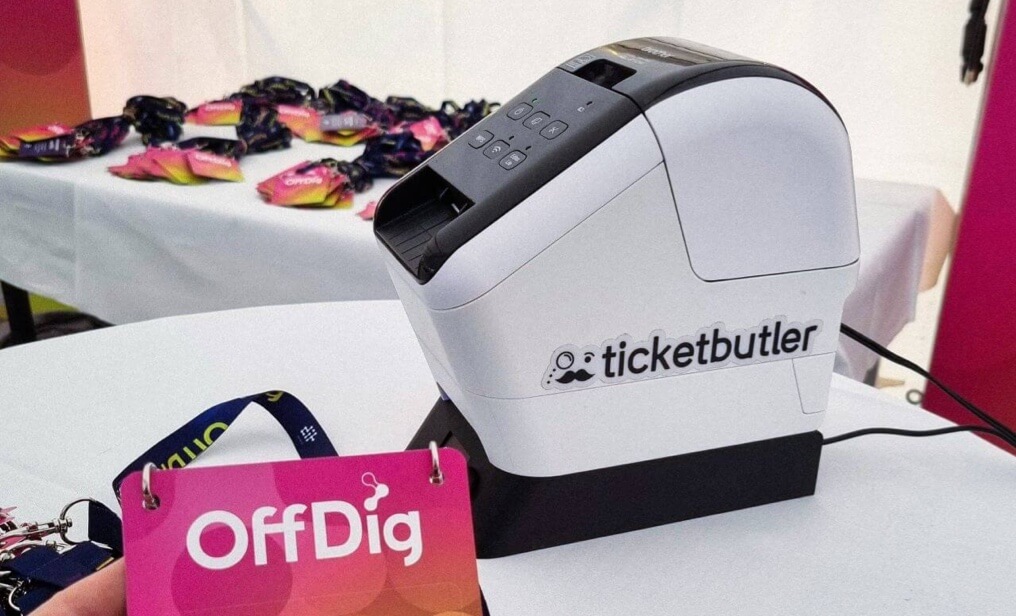
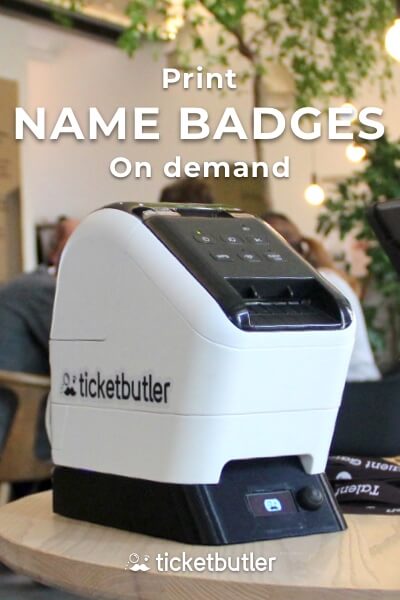
A Ticketbutler name badge printer was perched on each high table, and each high table had a bin beside it for the back paper of the label sticker.
Behind the high tables were large rectangular tables with “blank” name badge sets laid out in bundles of 25, all with the blank side pointing upwards. This made it easy for the check-in staff to quickly grab a new bundle once they ran out.
There were two people assigned to each high table; one person in front of the table whose primary task was to scan the QR code on the guest’s ticket, and one person behind the table whose primary task was to attach the automatically printed name label to the name badge. This also meant that the guest would naturally move forward after scanning, after which the next guest could follow suit.
The info desk was located outside the main check-in area. The info desk was equipped with two computers and two Ticketbutler name badge printers, and was dedicated to the more “complicated” requests, e.g. late comers and badge amendments.
By sending these attendees to the info desk, we made sure that the main check-in flow ran smoothly and that the attendees with badge amendments, missing registrations or the like were given the VIP service of being escorted to an info desk with service-minded and smiling staff that had time to handle their requests.
So, to summarize, the guest entered from the middle of the check-in tent and could head straight to an available check-in counter. A member of the check-in staff scanned the guest’s ticket QR code via the Ticketbutler check-in app, after which the Ticketbutler name badge printer printed out a label. If the guest could not locate their ticket, the check-in staff just searched for the attendee name in the check-in app, after which a name badge label was automatically printed out.

Info-desk var placeret seperat uden for det primære check-in flow. Her var der opstillet to computere samt to Ticketbutler navneskiltsprintere, hvor man kunne håndtere gæster som ønskede ændring på navneskilt samt registrering af nye gæster og print heraf, så alle gæster får ens navneskilte. Dermed gav de “bøvlede” gæster ikke prop i check-in flowet, men kunne håndteres i ro og mag i info-desken.
Flowet fungerede således, at gæsten entrede fra midten og gik over til en ledig check-in skranke. Gæsten får scannet QR-koden på billetten gennem Ticketbutler check-in app’en, hvorefter Ticketbutler navneskiltsprinteren printer en label ud. Hvis ikke gæsten kunne finde sin QR-kode kunne gæsten findes frem i check-in app’en ved søgning på navn. Denne påsættes på det “blanke” navneskilt og gæsten får udleveret sit navneskilt.
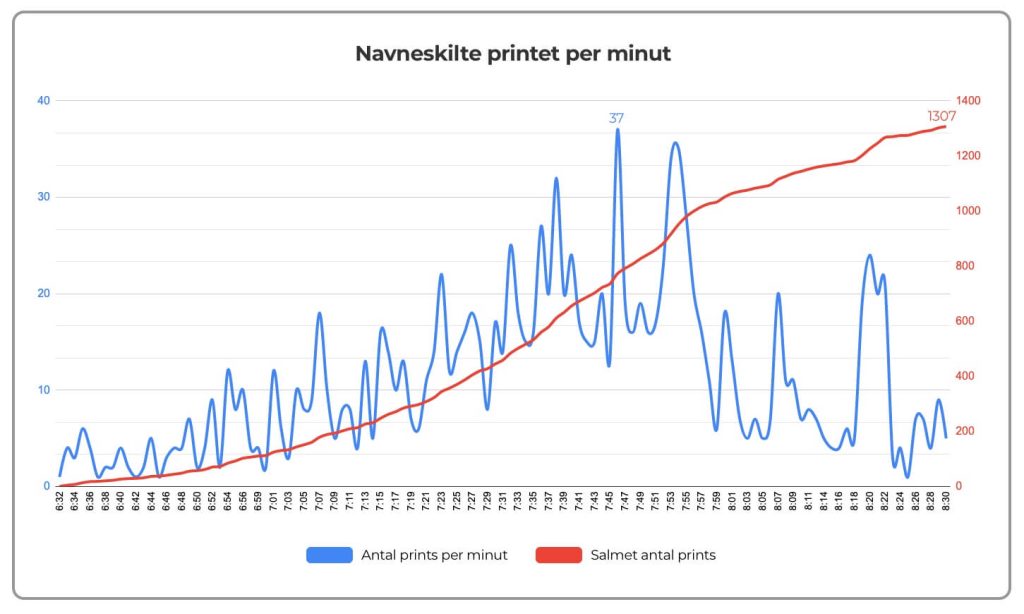
The results
A few numbers post check-in:
- ● 1,584 printed name badges in total
- ● 1,307 printed name badges in one hour
- ● 610 printed name badges in 30 minutes
- ● 318 printed name badges in 15 minutes
- ● 37 printed name badges in 1 minute
- ● Maximum no. of printed name badges on one printer in 1 minute was 7 name badges
- ● The printer that printed most labels in one hour printed 251 name badges in total
- ● 40 late-comer registrations
- ● No queueing.
So, 610 guests arrived in the course of 30 minutes, even though we had prepared for over double the amount (1,300 guests in 30 minutes). This also meant that there was lots of breathing room, even though the setup could have handled a lot more guests in the same timeframe.
The attendees were previously accustomed to having to manually search for their name badges on the tables. This time around, the guests were pleasantly surprised and explicitly praised Danish IT and their check-in process for being modern, digitized and efficient.
How can we do better next time?
In order to optimize the flow, we would recommend having a dedicated check-in staff member guiding the guests in the right direction and pointing out available stands.
Banners had been set up outside the check-in tent stating that guests should prepare their ticket QR codes for scanning. However, the text could have been more eye-catching and supported by e.g. visual icons, since quite a few guests seemed to have overlooked the banners.
For any future events with the same setup, you could in fact make do with less check-in staff. There were 20 people checking in, but between 10 and 15 would have been enough (e.g. 10 people and 5 extra on-call during peak check-in times).
Thanks for reading!
Thank you so much for reading our little check-in case study 🤗 We hope it gave you some food for thought. Don’t hesitate to contact us at [email protected] if you have any questions at all or if there is anything we can do to help you with your event check-in flow!
New blog posts
Saastock
November 20, 2023
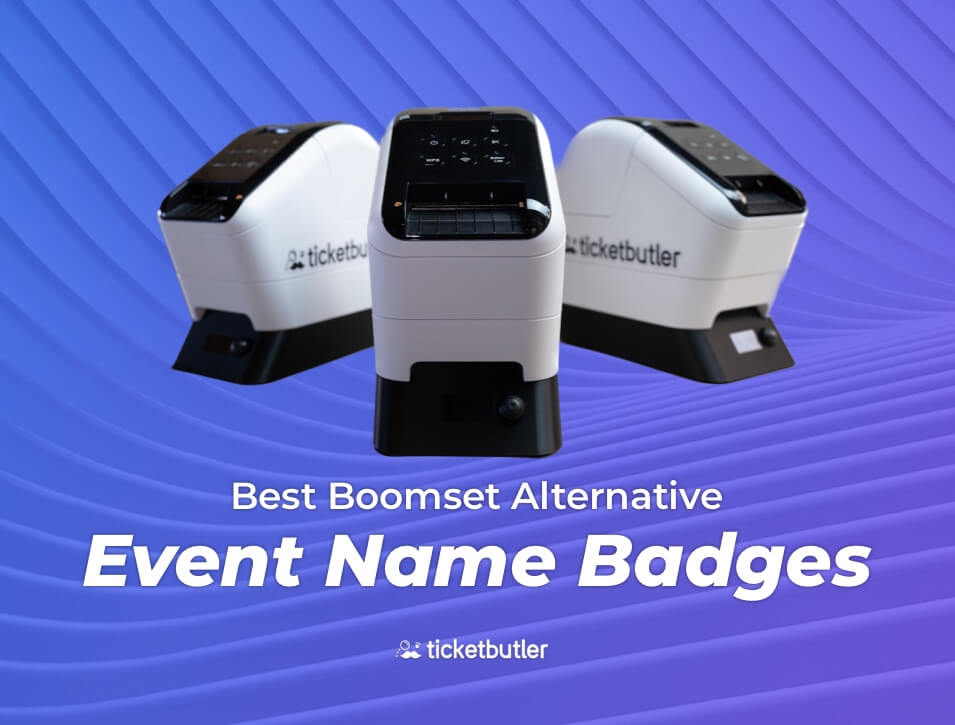
Best Alternative To Boomset For Event Name Badges
July 25, 2023
NDC, Boosting Event Efficiency
June 23, 2023
Follow Ticketbutler
Stay updated
Stay up to date on the event industry
Sign up for Ticketbutler’s newsletter and get notified of the latest news from the event industry.
On Trend